Below you will find pages that utilize the taxonomy term “Highertech”
Posts
read more
Did you know: Unaligned accesses in ARM
The X86 has always supported unaligned accesses. In the ARM world the first architecture that supported unaligned accesses in hardware was ARMv6. The architecture was implemented in the ARM11 core around the year 2002 and onward. There is an excellent article at ARM Infocenter giving technical details:
http://infocenter.arm.com/help/index.jsp?topic=/com.arm.doc.faqs/ka15414.html
The support for unaligned accesses must be enabled in an ARM core explicitly. This is done by setting the bit A in the register SCTLR. Still, unaligned accesses will be allowed only on Normal memory; accesses to Device memory type are always checked and will throw exceptions on misaligned accesses.
Posts
read more
Connecting MCU and FPGA at 100Mbit/s Using Ethernet RMII [Part 2]
This is Part 2 of a two-part series on Ethernet RMII. In Part 1 I described my hardware setup and basic Ethernet operation. In the second and final part I will describe the design of specialized MAC cores I implemented on FPGA, and there will be measurements to see how much throughput and latency the system can achieve.
Posts
read more
Connecting MCU and FPGA at 100Mbit/s Using Ethernet RMII [Part 1]
This is Part 1 of the two-part series on Ethernet RMII. Part 2 is also available.
Imagine your application requires a non-standard periphery controlled by an embedded processor. What options do you have? The periphery can be implemented in an FPGA; depending on periphery complexity you can choose an optimal FPGA that fits your budget. Where the processor goes? There are three possibilities: (a) inside FPGA as a soft-core → it will increase the cost of FPGA (larger type needed) and complicate HDL and software design. Or (b) inside FPGA as a hard-core → a nice compact solution and quite possible with heterogeneous FPGA from Xilinx (Zynq) and Altera (SoC). But the cost of these modern devices could still be too high for price sensitive applications. You must fit both your software and HDL to pre-engineered combinations of FPGA and ARM CPU sizes (perhaps a small Cortex-M core would suffice but you must pay for a gigahertz-class Cortex A cores).
The third option (c) is using a stand-alone MCU (maybe even not an ARM) and a standard FPGA. How do you connect them? You are limited to interfaces offered by the MCU. In modern low-end MCUs (by that I mean smaller STM32Fxxx devices) you have I2C (400 kbit/s), UART (115 kbit/s), SPI (~10Mbit/s), Fast Ethernet (100 Mbit/s). So what about the Ethernet core in the MCU? Could it be used to interface with FPGA? Sure it can!
Posts
read more
[Pic] BGA Dead-Bug Style
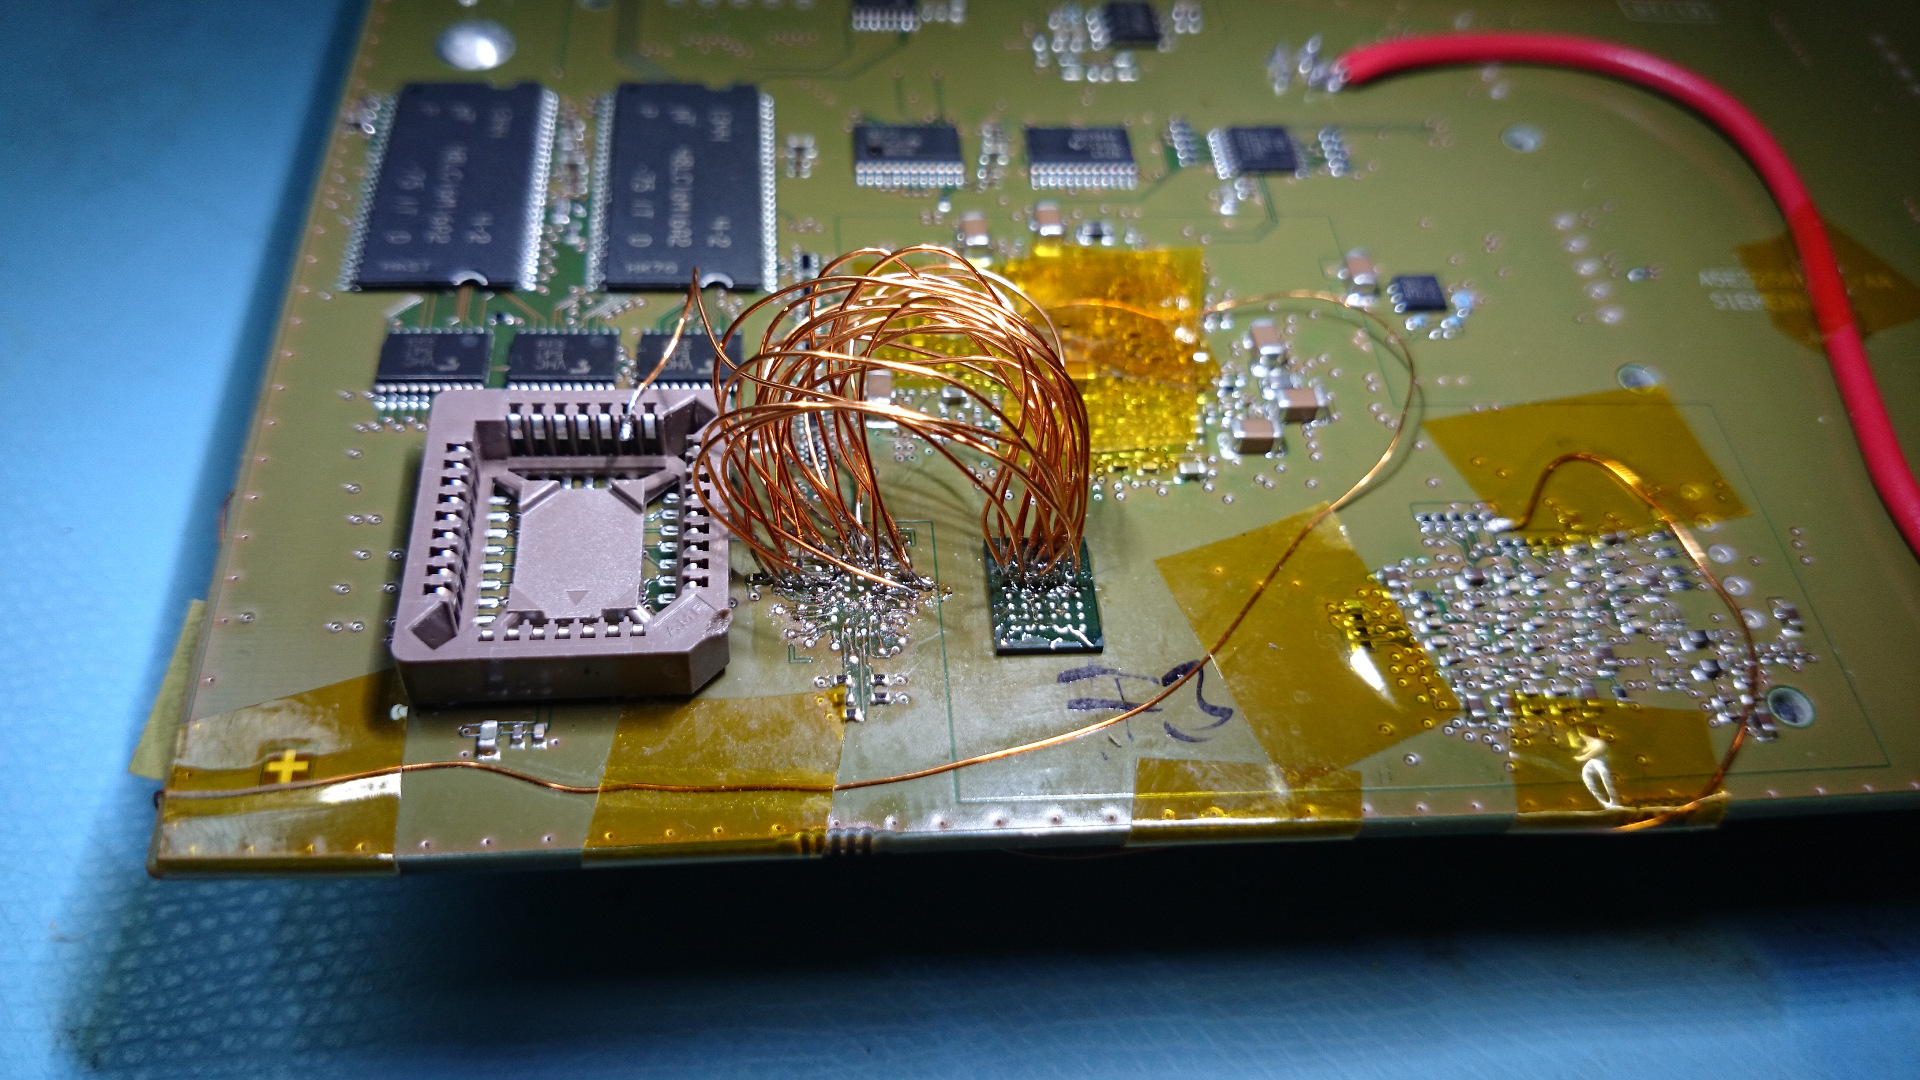 [half-way through; click a pic to see hi-res]
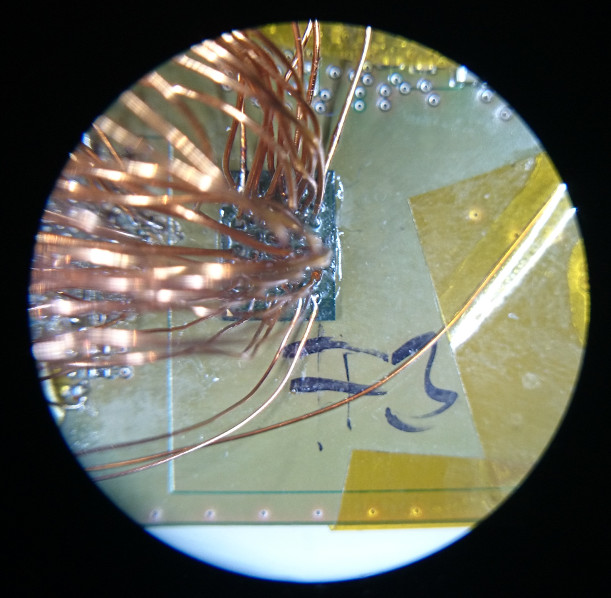 [connections to bga]
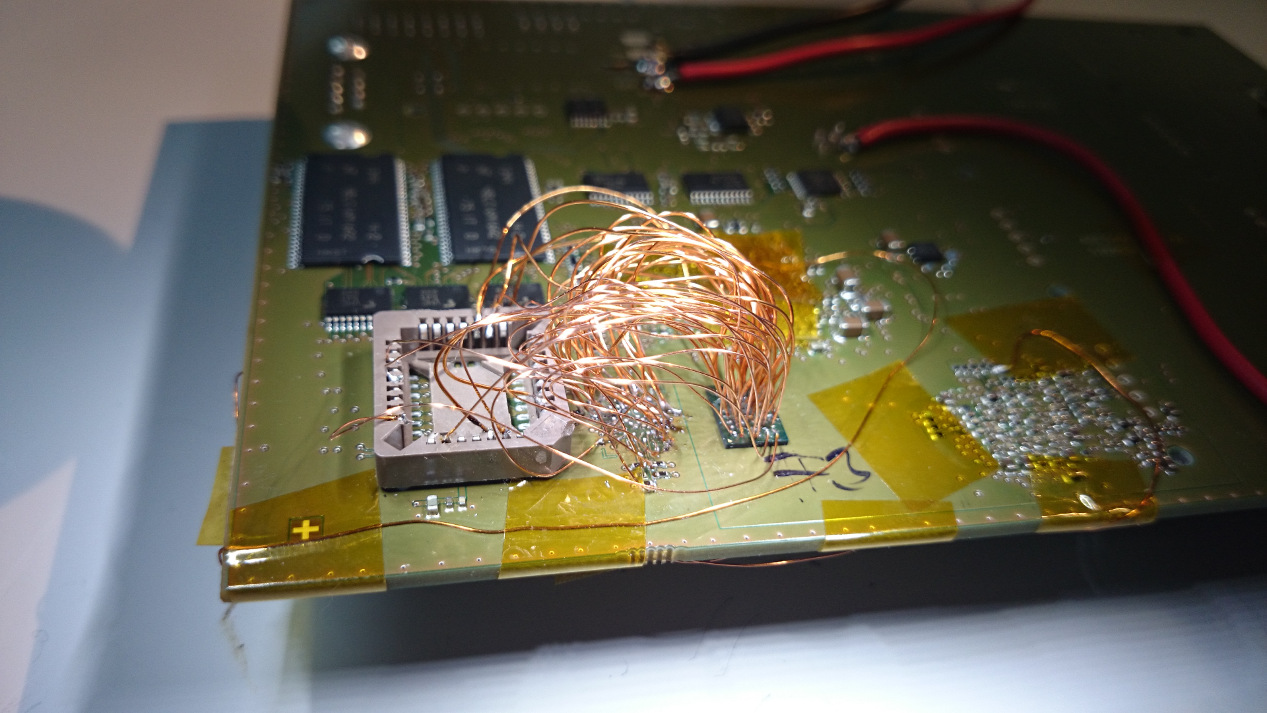 [finished “product”]
And it (almost) worked! Though not at-speed, because of wire inductances.
Posts
read more
ZedBoard: Late Xmas present has arrived!
Finally, after much waiting, my ZedBoard arrived on Tuesday. See it shining in the picture above, isn’t it lovely?
So far I managed only to unbox it and turn it on… Hence only a few notes on the beginnings:
- Running Vivado 2013.3 in Fedora Linux: see my previous post.
- Running the demo Linux bitstream from the supplied SD card: you need to reconfigure switches, at least JP8, JP9 should be at 3V3 side. Best to see the README on the SD card. The default configuration (JP7-11 at GND) is for JTAG download.
- Installing USB-JTAG cable drivers in Linux: surprisingly, all I needed to do was to run Vivado/2013.3/data/xicom/cable_drivers/lin64/digilent/digilent.adept.runtime_2.14.3-x86_64/install.sh as root.
- Missing impact tool in Vivado 2013.3: impact is deprecated. Use Hardware Manager / Open Target tabs in Vivado GUI.